Creating IoT-Ignite Project in Android Studio
This tutorial shows how to create an IoT-Ignite project in Android Studio and setup IoT-Ignite dependencies.
Step 1: Creating New Project
Open Android Studio and click to start a new project.
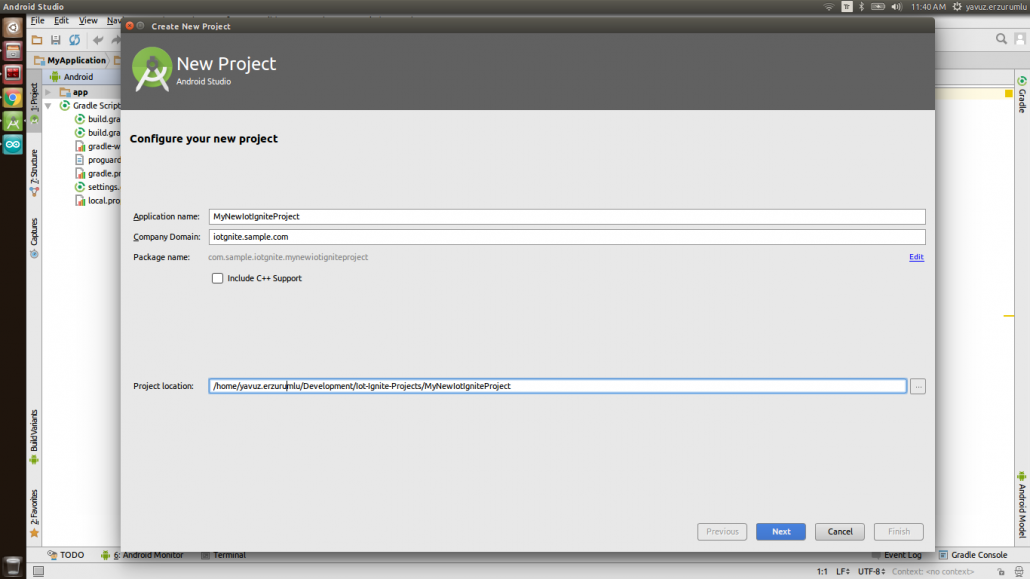
Create New Project – Configure your new project
Step 2: Setting Target Devices
Enter your application’s package name. Set your project path and then click next.
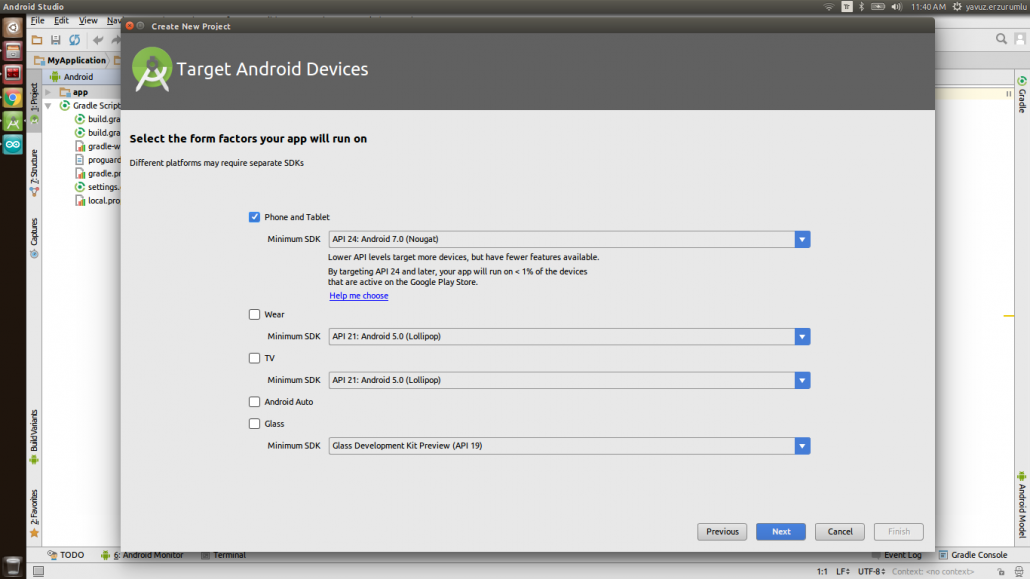
Create New Project – Target Android Devices
Step 3: Adding Main Activity
Choose “Empty Activity” from the menu.
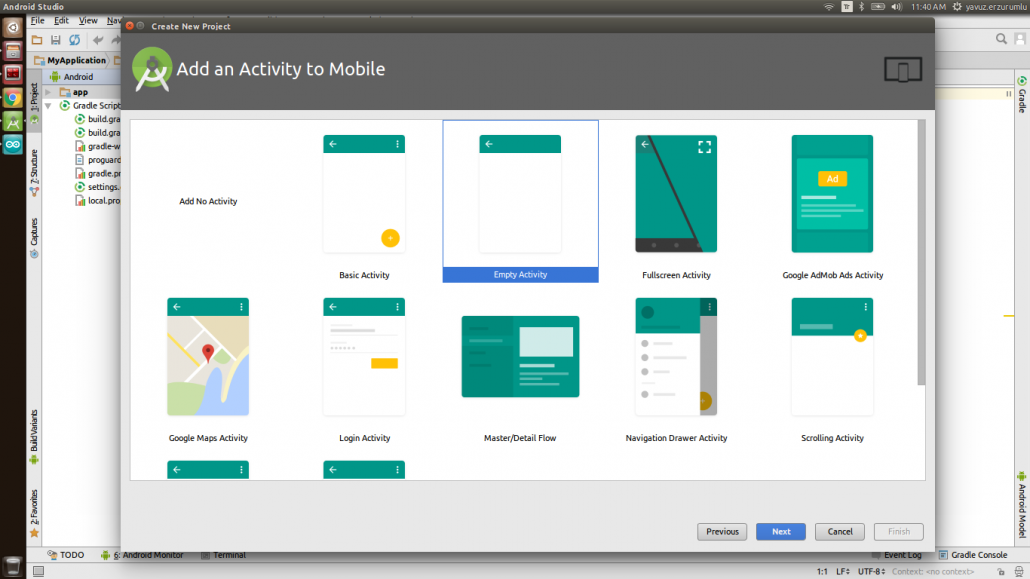
Create New Project – Add an Activity to Mobile
Step 4: Customizing Main Activity
Rename your main activity or leave it as it is. Click “Finish” button to create the project.
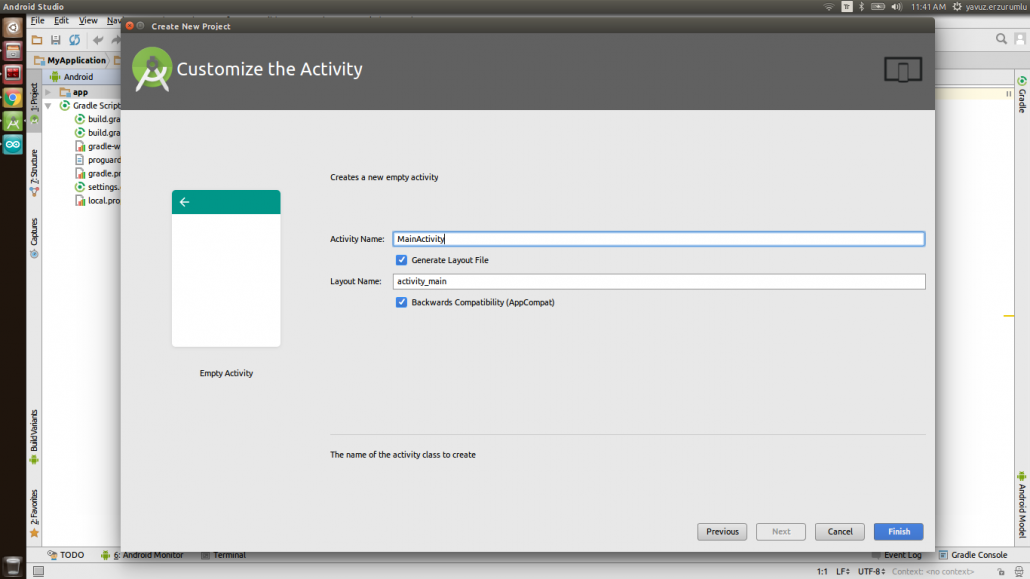
Create New Project – Customize the Activity
Android Studio will download its dependencies. If you are opening IDE for the first time, it takes a while. When Gradle build is finished, you will see a notification on the left bottom side as below:

Main Activity Code
Step 5: Setting Repositories and Dependencies
Add IoT-Ignite dependencies and repositories to module app:build.gradle file.
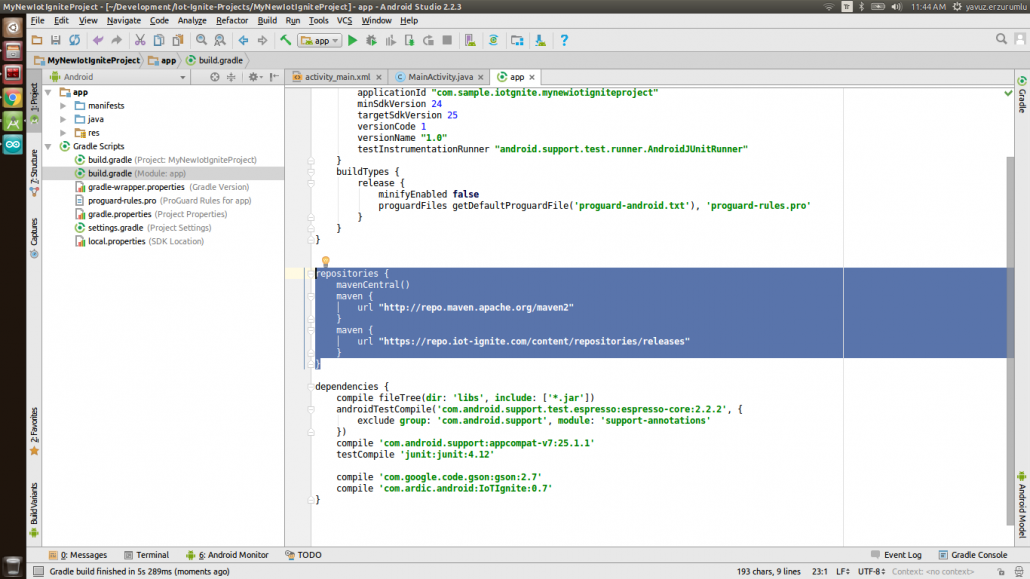
Setting Up Repositories
Repositories :
repositories {
mavenCentral()
maven {
url "http://repo.maven.apache.org/maven2"
}
maven {
url "https://repo.iot-ignite.com/content/repositories/releases"
}
}
Dependencies :
//New Android Studio / Version > 3.4:
implementation 'com.google.code:gson:2.7'
implementation 'com.ardic.android:IoTIgnite:0.8.2'
//Old Android Studio / Version < 3.4:
compile 'com.google.code:gson:2.7'
compile 'com.ardic.android:IoTIgnite:0.8.2'

Setting up Dependencies
Step 6: Testing Setup
For testing, just write IotIgniteManager to MainActivity.java’s onCreate() function. If everything is OK, it will be shown as below:
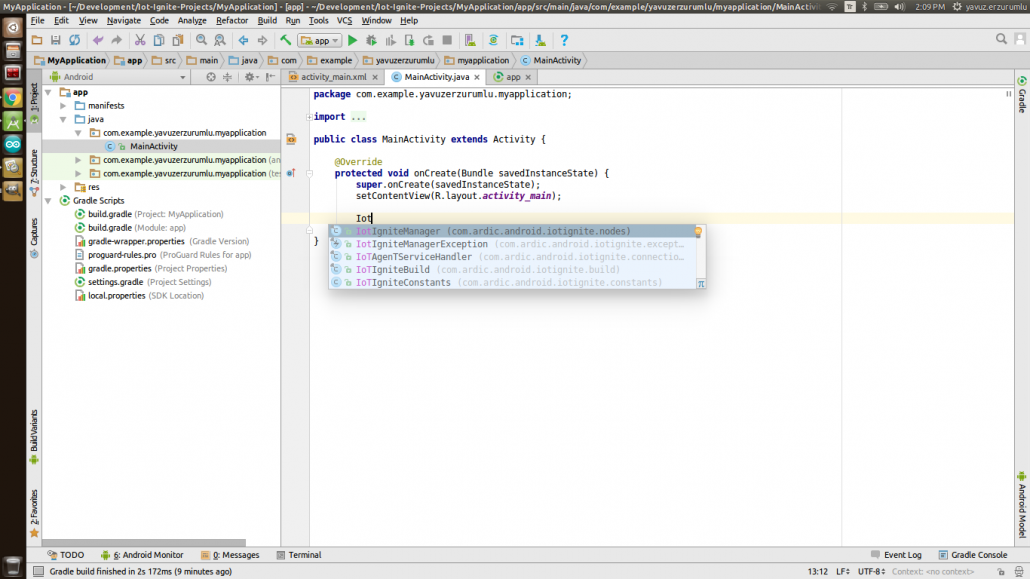
Checking Setup
Happy Codings,