Installing PilarOS to Raspberry Pi 3 from Linux
You can boot your Raspberry Pi 3 using a micro SD card that contains the latest IoTAgent built, PilarOS image. Use the following steps in this topic to create the bootable micro SD card.
What you need to succeed
- Raspberry Pi 3
- Micro SD Card (min. 8GB)
- Linux OS with SD Card Reader
Download and extract the image
- Download latest IoT-Ignite version suitable for your choice of display port type (HDMI or VGA).
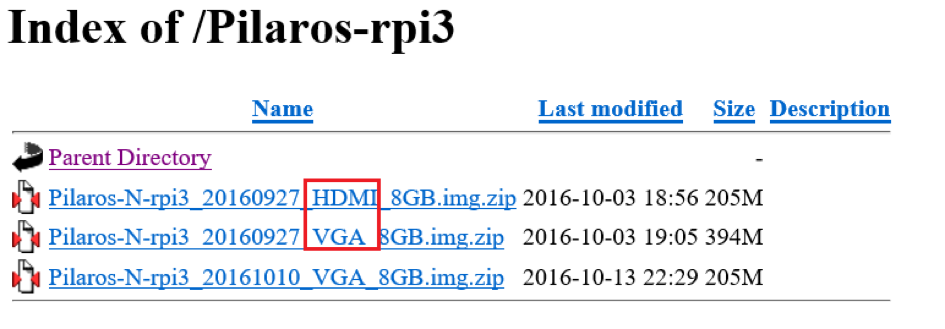
- Extract the downloaded file with unzip command. Carry the image out.
Example: “unzip Pilaros-N-rpi3_20160927_HDMI_8GB.img.zip”

Writing the image on Micro SD card
Follow these steps to write the image on the Micro SD card.
- Insert Micro SD Card into the micro card reader in your PC.
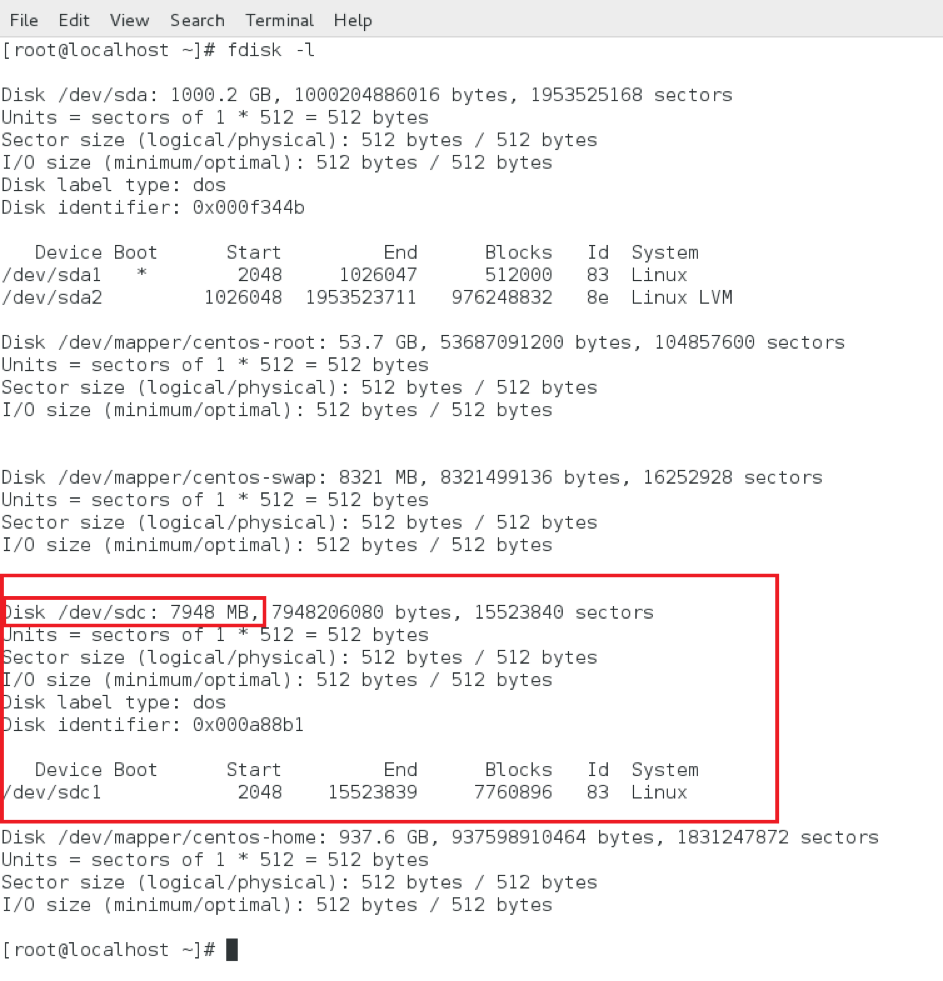
Attn: This step will format the selected Micro SD Card, and it is irreversible. - Learn the device name of SD Card with fdisk command.
Example: fdisk -l
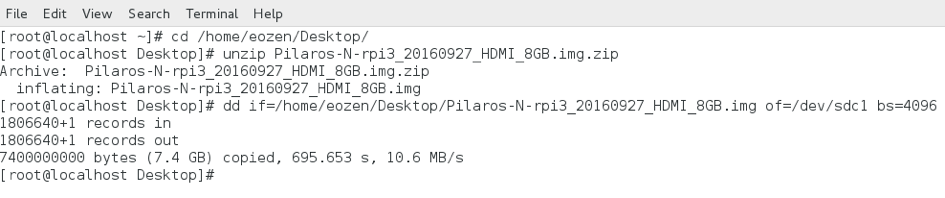
- Writing the image to the sd card.
Attn: The following command will overwrite the data on the given device unrecoverably so you should select the right device name!
Example: dd if=/home/eozen/Desktop/Pilaros-N-rpi3-20160927_HDMI_8GB.img of=/dev/sdc bs=4096
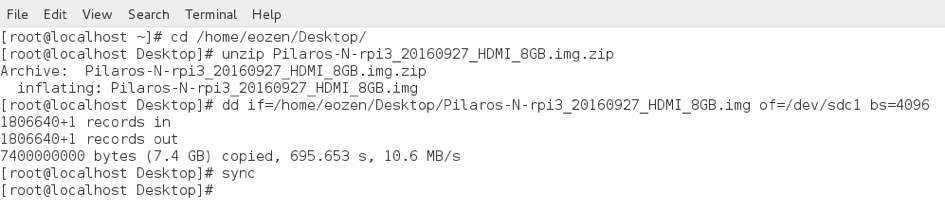
- Wait until it is completed. It may take upto 5 minutes depending on your PC and Micro SD Card.
- Execute sync command.
- Eject Micro SD card.
- Insert Micro SD into Raspberry Pi3 device and connect the device to power. Installed image will automatically boot, and PilarOS with IoT Ignite Agent will start. For first time run, this will take approximately 5 minutes.